Surgical Lighting System Buying Guide
May 27, 2020
As a critical piece of equipment, it's important to understand how to choose the correct surgical lighting system for your facility and how to get it installed successfully. In this guide, learn what you need to know before purchasing and installing new surgical lights in your facility.
Lighting Options 101
In this article, we'll be focusing specifically on LED lighting systems only. Since introduced into the medical equipment market 15 years ago, LED surgical lights have quickly outpaced older, halogen alternatives.
When choosing surgical lights, there are three major configuration choices: ceiling mount, wall mount, or portable mount. These are often available in configurations with multiple light heads, allowing you to customize the system so it meets your facility's illumination requirements.
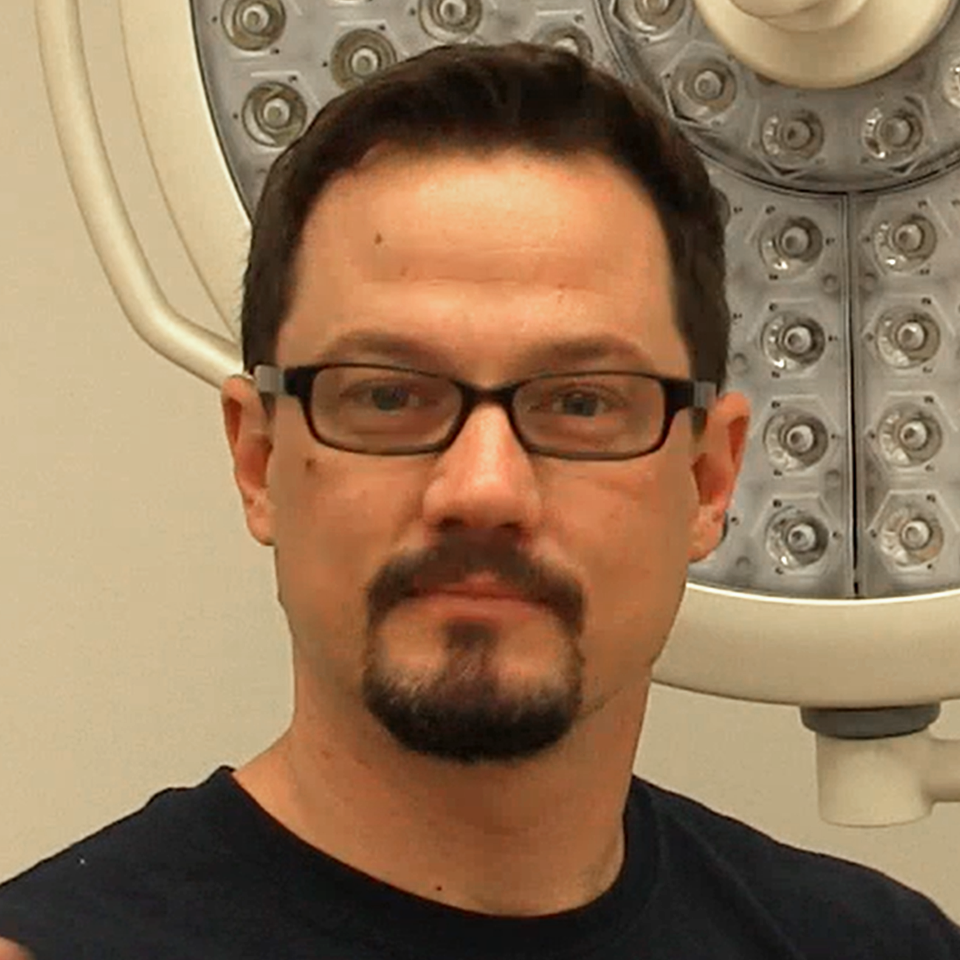
When shopping for surgical lighting, there are a few key terms you need to know: Illumination, color temperature, color rendition index, light field diameter, lifespan.
Illumination
Illumination refers to the light intensity output of the surgical light head, which is measured in lux. The standard distance for measuring lux on a surgical light is meter. Most lights don’t produce light intensity beyond 160,000 lux, and lights that measure under 40,000 lux aren't considered fit for surgical use.
Color Temperature
Color temperature is measured in Kelvin, and it refers to the overall color produced by the light source. Warm colors like red and yellow are at a lower Kelvin temperature, whereas white and blue are higher. Daylight is considered approximately 5,800 Kelvin. When you're searching for surgical lights, make sure they can deliver within the 3,000 - 6,700 Kelvin range.
Color Rendering Index (CRI)
The CRI measures the quality of light produced, as related to perfect visualization. Bright daylight is considered the optimal light for viewing the natural color of objects and has a CRI of 100. Make sure the surgical lights you choose have a CRI between 80 and 100.
Lifespan
Surgical lights manufactured today typically last for 40,000 to 60,000 of use, but this number isn't as straightforward as it seems. Most surgical light lifespan estimations are calculated to measure how long a light will produce up to 70 percent of its original output, not how long it can deliver full intensity. It's important to be aware of this discrepancy when researching surgical lights for your facility.
Extras
Do you need cameras? Monitors? Sterilizable handles? Make sure you factor those into your purchasing decisions.
The Importance of Proper Surgical Light Installation
Once you've chosen the correct lighting system configuration for your facility, we get to the most important part — installation. In order to get the most out of your lighting system, not to mention avoid costly repairs or damage to your equipment, surgical lights must be installed properly.
One of the most common results of improper light installation is when light heads drift from their intended location. Not only are the lights incapable of maintaining steady illumination of the operative area, but dual configurations can also knock into one another and cause damage to the light heads. Without adequate planning, lights can also sit too low in the operating room, restricting movement. In absolute worst-case scenarios, faulty lights can cause electrical shock or fall from their ceiling mounts.
Avoid the pitfalls of improper light implementation by purchasing surgical lights from a reputable supplier that also offers installation services. Find a company that has the skilled technicians who have developed processes to ensure safe and effective installation. Though this may mean a price increase upfront, the benefits and peace of mind are worth it.
Leave It to the Professionals
The most important part of surgical light installation is being able to assess the existing support structure, also known as the superstructure, and make needed adjustments. The superstructure will ultimately support the entire lighting system, so it's vital that the construction is up to the task. Depending on the state of the existing superstructure, installation could encompass just a few minor updates or a complete retrofitting process. All of this must be completed while negotiating around rigid vent ducting, electrical conduits and wires, air handlers, and gas and water piping.
In addition to evaluating and reinforcing the lighting superstructure and handling the electrical installation, professional surgical light installers also use the proper techniques and hardware to ensure that the light heads achieve their full range of motion and don't drift during use. Professional installers also adhere to medical facility standards from Infection Control Risk Assessment (ICRA) Best Practices and Interim Life Safety Measures (ILSM).
How to Make the Installation Process Easier
To make the surgical light installation at your facility go as smoothly as possible, some preliminary steps are recommended. These set up clear communication and expectations between your facility's staff and the light installers and helps to make sure everything goes according to plan.
The first step would be to assign a point of contact at your facility who will act as the liaison between your team and the surgical light installers. The point of contact can help to establish a timeline for construction and determine what kinds of paperwork and facility access permissions are needed to begin the installation process. If an on-site evaluation is needed before construction begins, the point of contact would be present to help answer any questions.
Before installation begins, it's helpful for the installation team to have a good idea of the operating room's size and specifications. This information is typically found in building blueprints, and should include the following:
- Facility specifications, electrical or otherwise
- Building structure type
- Wall and/or ceiling material type
- Distance from the finished floor to the finished ceiling
- Distance from the finished floor to the existing superstructure
- Distance between ceiling trusses
In addition to these preliminary measurements, photos of the existing support structure and related interstitial space can help light installers to determine implementation strategies.
Before installation begins, the electrical drop for connection should be implemented. The electrical drop will also need to be on a dedicated circuit. All equipment should be cleared out of the operating room if possible, allowing the installation team full space to work without worrying about causing damage or contamination to other surgical equipment. The point of contact for your facility should be present for the beginning of the installation process, and should be easy to connect with for the duration of the project.